

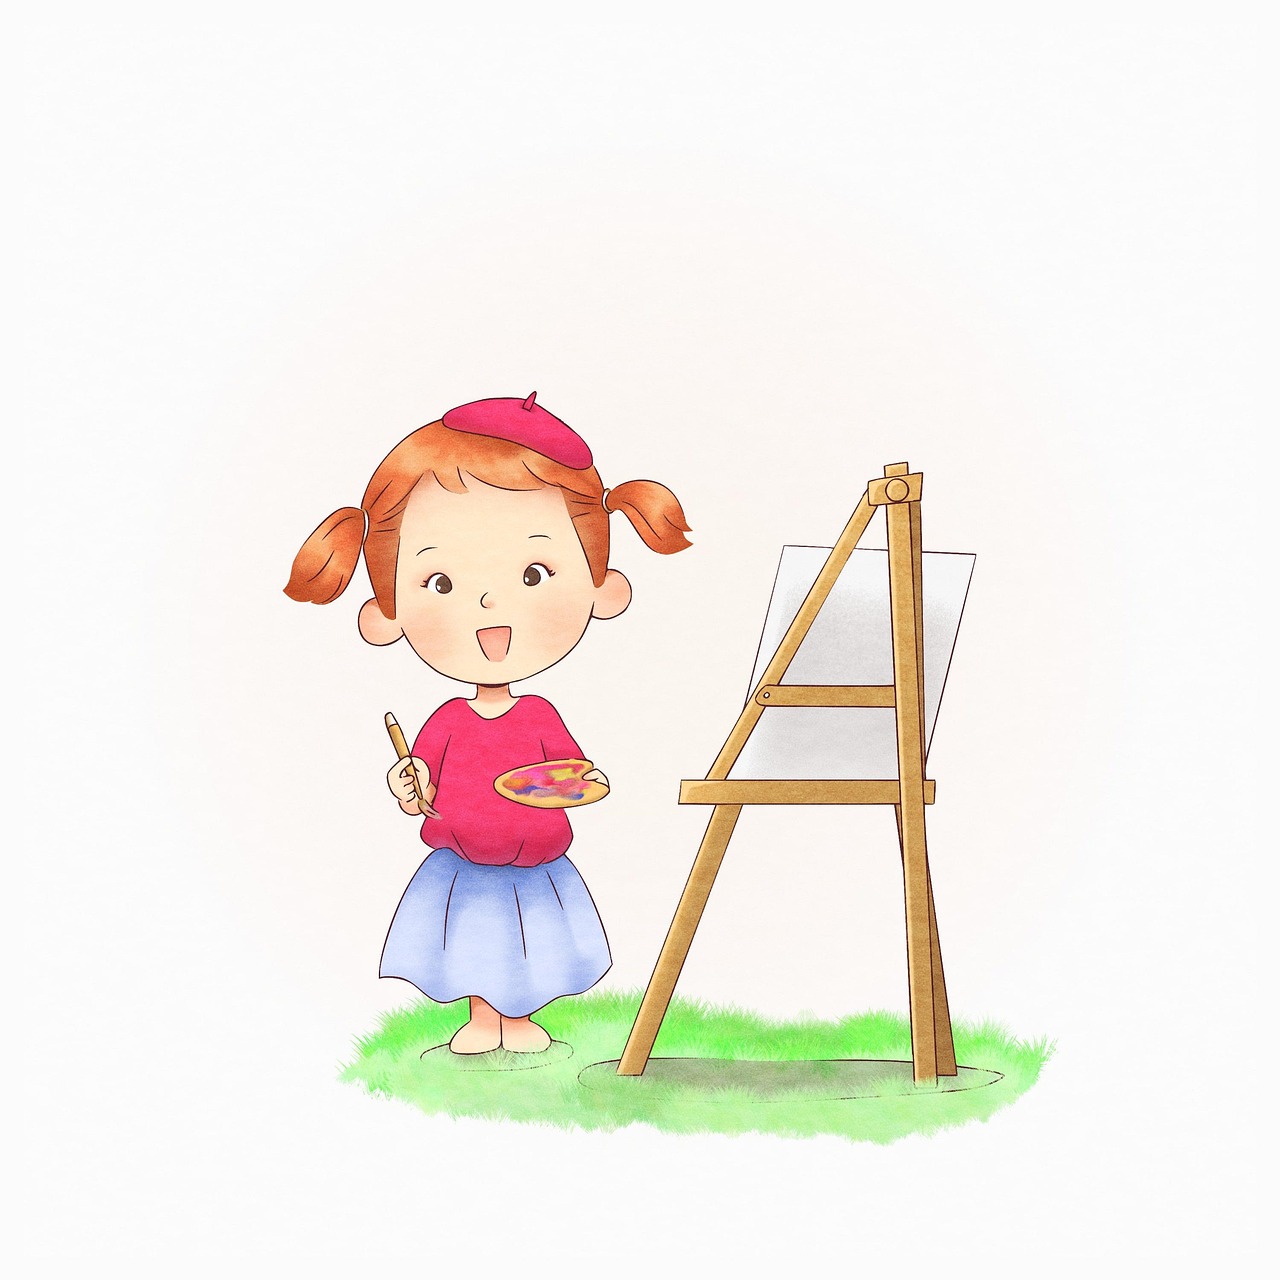
In today’s fast-paced digital world, encouraging creativity through hands-on activities is more important than ever. Creative DIY crafts offer children a wonderful opportunity to express themselves, develop fine motor skills, and have loads of fun. Here, we explore a variety of easy and enjoyable craft ideas that can keep kids entertained and inspired. Whether you’re a parent, teacher, or caregiver, these craft projects will provide hours of fun for children of all ages.
Benefits of DIY Crafts for Kids
Before diving into the specific crafts, it’s important to highlight some benefits of engaging kids in DIY activities. Crafting helps children develop essential skills, such as:
- Creativity and Imagination: Crafting allows children to think outside the box, use their imagination, and create something unique.
- Fine Motor Skills: Cutting, gluing, and manipulating small objects improve hand-eye coordination and dexterity.
- Problem-Solving: Craft projects often present challenges that require kids to think critically and find solutions.
- Patience and Focus: Completing a craft project requires attention to detail and persistence.
- Confidence and Pride: Finishing a project gives children a sense of accomplishment and boosts their self-esteem.
Easy DIY Crafts for Kids
Papier-Mâché Animal Masks
Papier-mâché is a fun and messy craft that kids love. Creating animal masks allows children to explore their creativity while also learning about different animals.
Materials Needed:
- Balloon
- Newspaper strips
- Flour and water (for paste)
- Paints and paintbrushes
- Elastic string
Instructions:
- Blow up the balloon to the desired size of the mask.
- Mix flour and water to create a paste.
- Dip newspaper strips in the paste and layer them onto the balloon. Let dry completely.
- Once dry, pop the balloon and remove it, leaving the hardened papier-mâché.
- Paint the mask to resemble the chosen animal.
- Attach an elastic string to the sides of the mask for wearing.
Recycled Bottle Bird Feeders
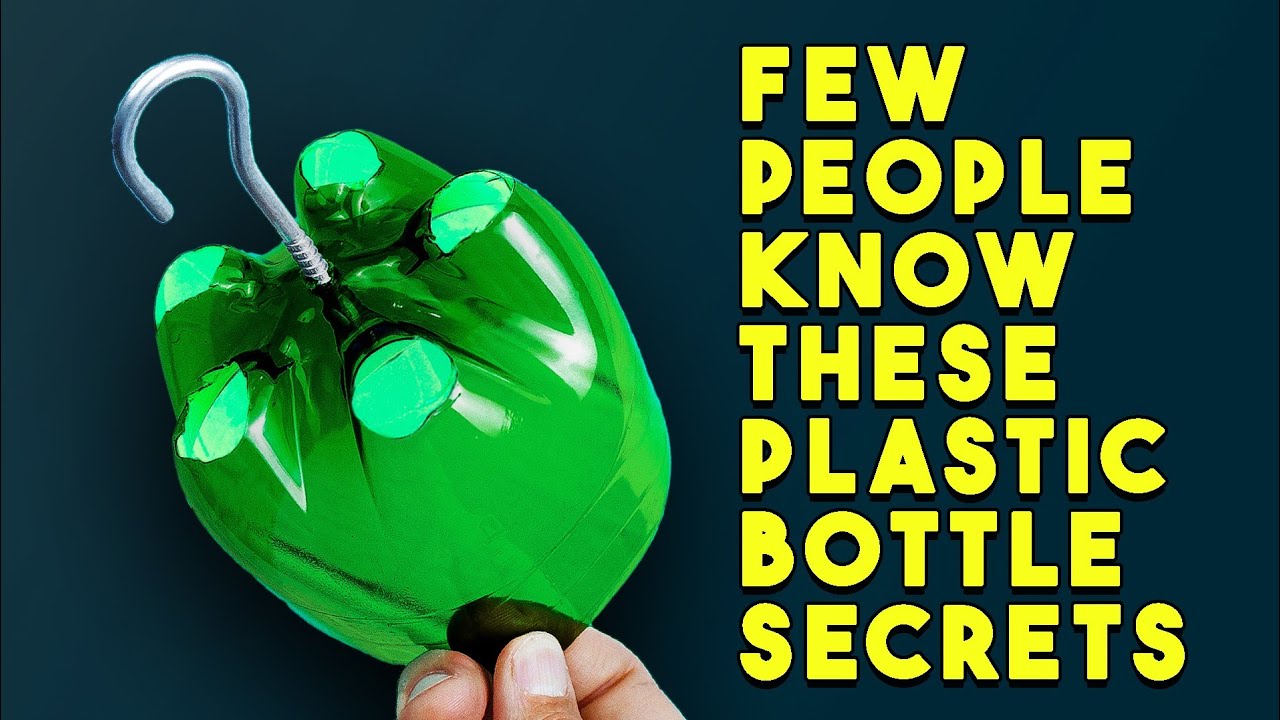
Teach children about recycling and caring for nature by creating bird feeders from used plastic bottles. This project is not only educational but also a great way to attract birds to your backyard.
Materials Needed:
- Empty plastic bottle
- Scissors or utility knife
- String or twine
- Birdseed
- Paint and paintbrush (optional)
Instructions:
- Clean the plastic bottle and remove any labels.
- Cut a small hole on the side of the bottle, big enough for birds to access the seeds.
- Make two small holes at the top of the bottle and thread the string through to create a hanging loop.
- Paint and decorate the bottle if desired.
- Fill the bottle with birdseed and hang it in a tree or garden.
Colorful Paper Plate Dream Catchers
Dream catchers are believed to protect sleepers from bad dreams and ensure peaceful sleep. Creating a colorful paper plate dream catcher is a simple craft that allows kids to explore different colors and patterns.
Materials Needed:
- Paper plate
- Yarn or string
- Beads and feathers
- Scissors
- Paint or markers
Instructions:
- Cut out the center of the paper plate, leaving a circular frame.
- Paint or decorate the frame with markers.
- Weave yarn across the frame in a crisscross pattern to create a web.
- Slide beads onto the yarn as you weave.
- Attach feathers to the ends of the yarn hanging from the bottom of the dream catcher.
- Hang the dream catcher above a bed or in a window.
DIY Salt Dough Ornaments
Salt dough ornaments are a classic craft that can be customized for any occasion. These ornaments make great gifts and can be used to decorate your home during the holiday season.
Materials Needed:
- 1 cup salt
- 2 cups flour
- 1 cup water
- Rolling pin
- Cookie cutters
- Paint and paintbrushes
- String or ribbon
Instructions:
- Mix salt, flour, and water to form a dough.
- Roll out the dough and use cookie cutters to cut out shapes.
- Poke a hole at the top of each shape for hanging.
- Bake the shapes at 200°F (93°C) for about 2 hours or until hard.
- Once cool, paint and decorate the ornaments.
- Thread string or ribbon through the holes and hang them up.
Nature Collage Art
Encourage children to explore the outdoors and appreciate nature by creating a collage using natural materials. This project combines art with a love for the environment.
Materials Needed:
- Construction paper or cardboard
- Glue
- Leaves, flowers, twigs, and other natural items
- Scissors
Instructions:
- Take a nature walk and collect various natural items.
- Arrange the items on a piece of construction paper or cardboard to create a collage.
- Glue the items in place.
- Let the collage dry and display the artwork.
Conclusion
Engaging kids in creative DIY crafts is a fantastic way to encourage their development and provide them with a sense of accomplishment. From papier-mâché animal masks to nature collages, each project offers a unique opportunity for children to express themselves and explore their creativity. Whether you’re working with a group or spending quality time with your child at home, these easy crafts are sure to inspire and entertain. So gather your supplies, roll up your sleeves, and watch the imaginations of your young crafters come alive!
#ChatGPT assisted in the creation of this article.